Compute engine에 MariaDB 설치하기
Compute Engine 인스턴스 생성하기
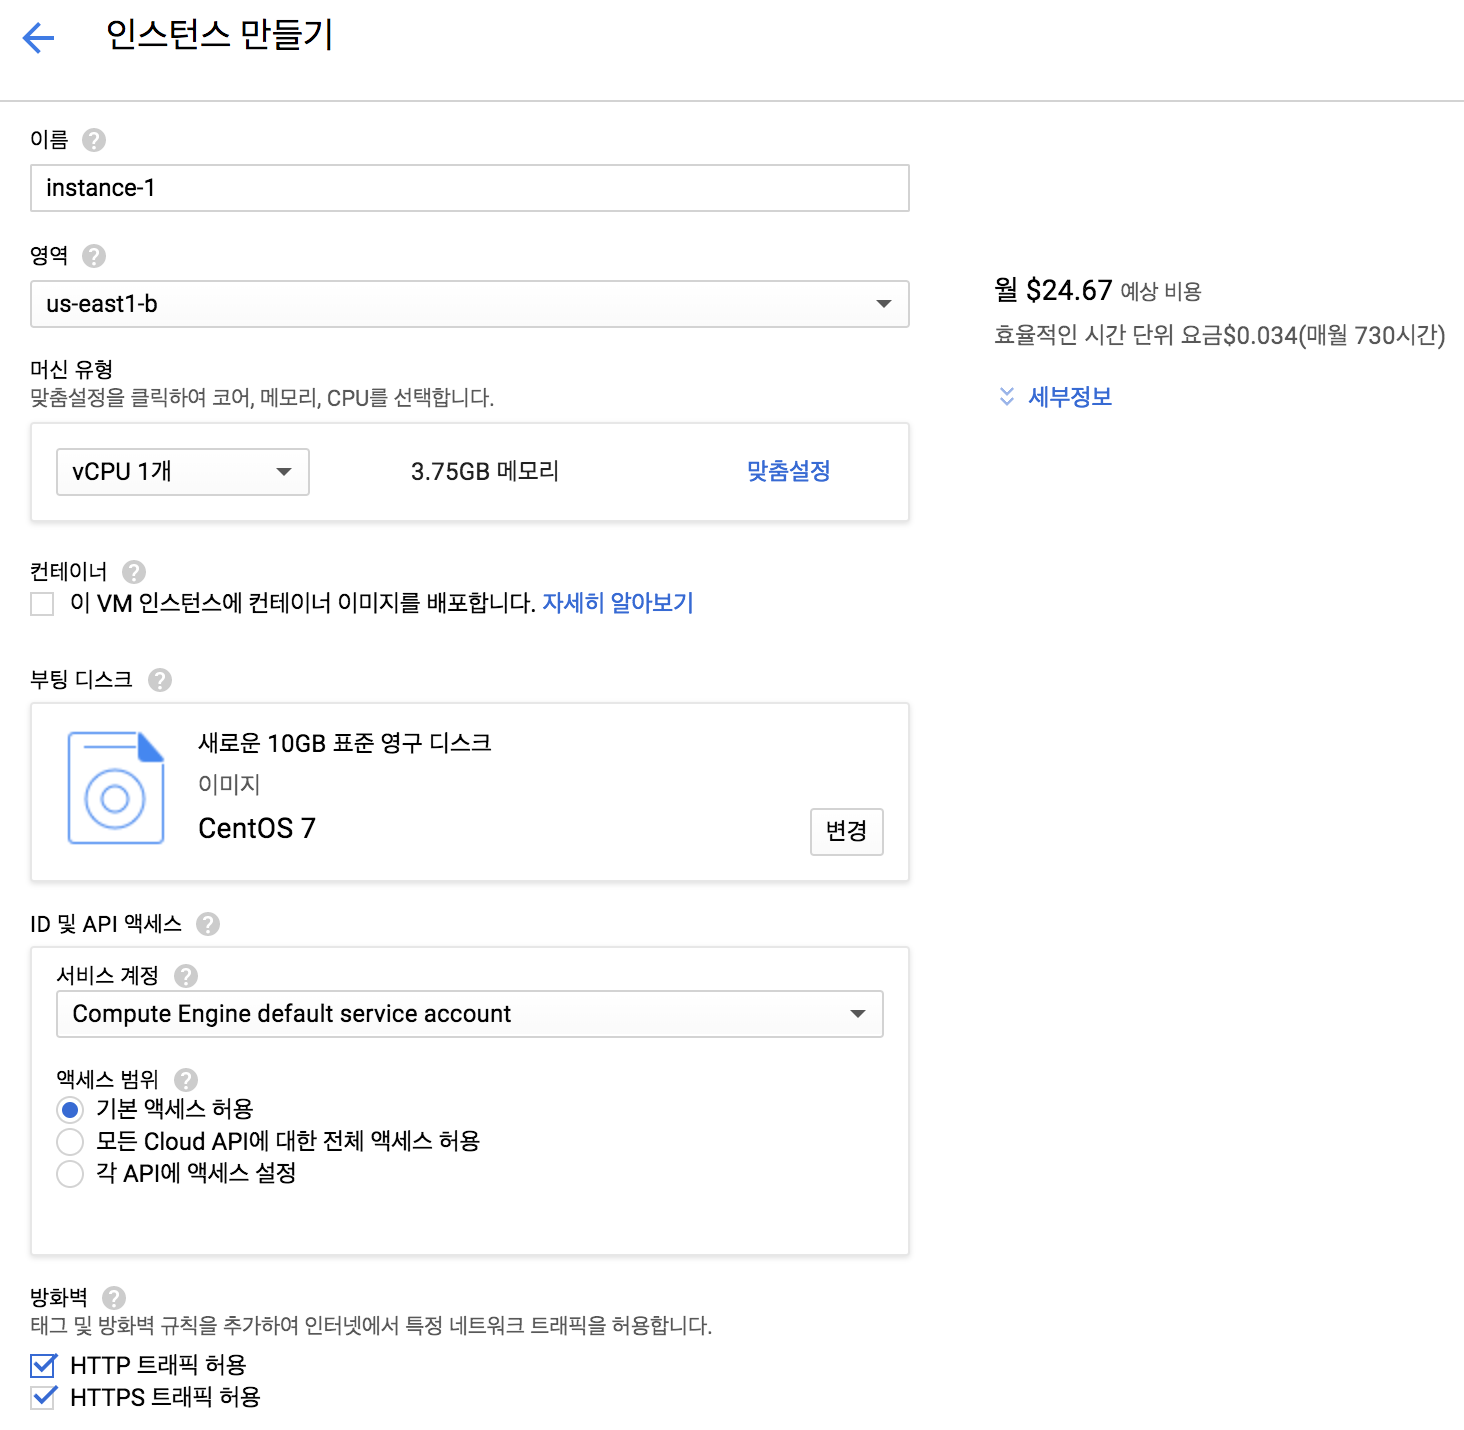
아래와 같이 Compute Engine 인스턴스를 생성한다. OS 이미지는 CentOS를 선택했다.
MariaDB 설치하기
1) MariaDB 설치하기
sudo yum -y install mariadb-server
2) MariaDB 서버 시작하기
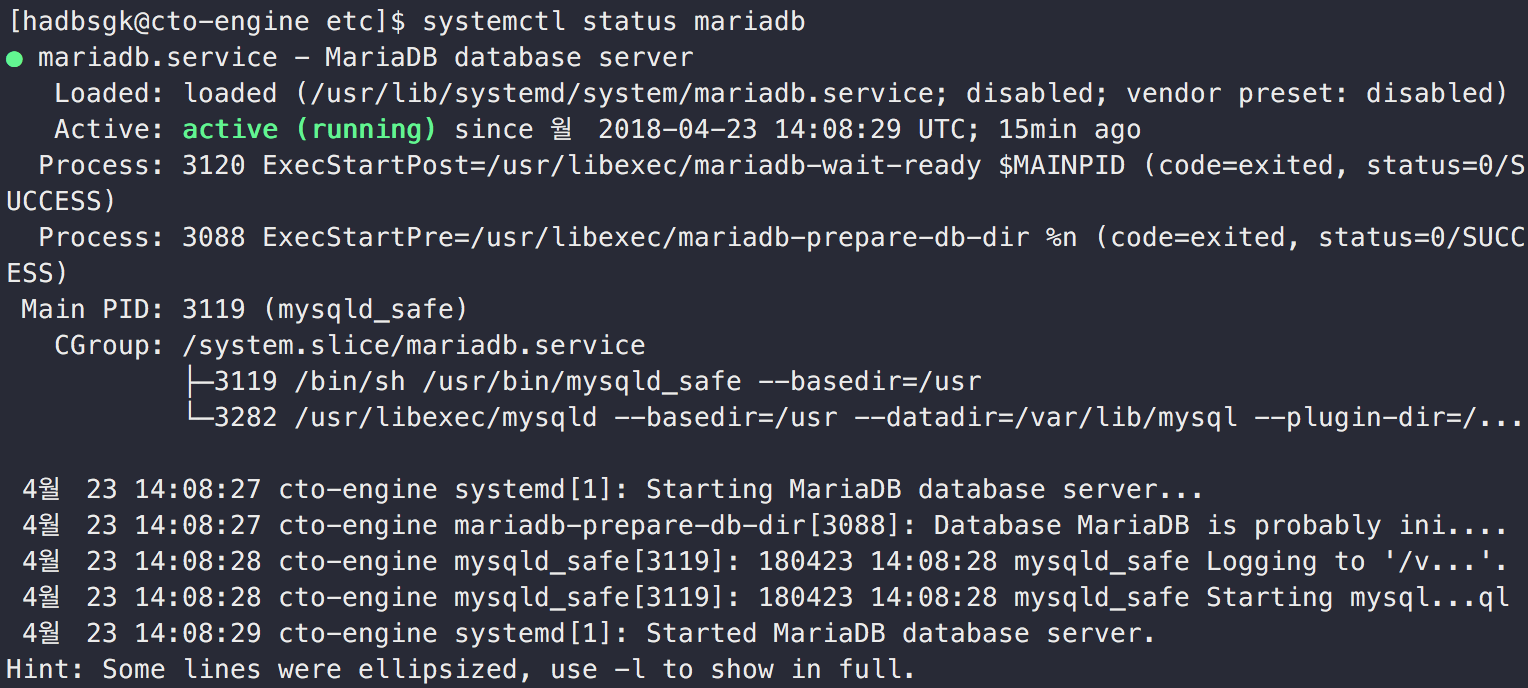
sudo service mariadb start
systemctl 명령어를 통해 서비스가 정상적으로 동작하는지 확인합니다.
3) 안전하게 MariaDB 설치하기
mysql_secure_installation 명령을 통해 비밀번호 설정, 원격접속 여부 등을 설정합니다.
sudo mysql_secure_installation
4) MariaDB 접속하기
$ mysql -u root -p
Enter password:
Welcome to the MariaDB monitor.  Commands end with ; or \g.
Your MariaDB connection id is 9
Server version: 5.5.56-MariaDB MariaDB Server

Copyright (c) 2000, 2017, Oracle, MariaDB Corporation Ab and others.

Type 'help;' or '\h' for help. Type '\c' to clear the current input statement.
외부에서 Maria DB 접근하기
1) 구글 클라우드 콘솔에서 방화벽 개방하기
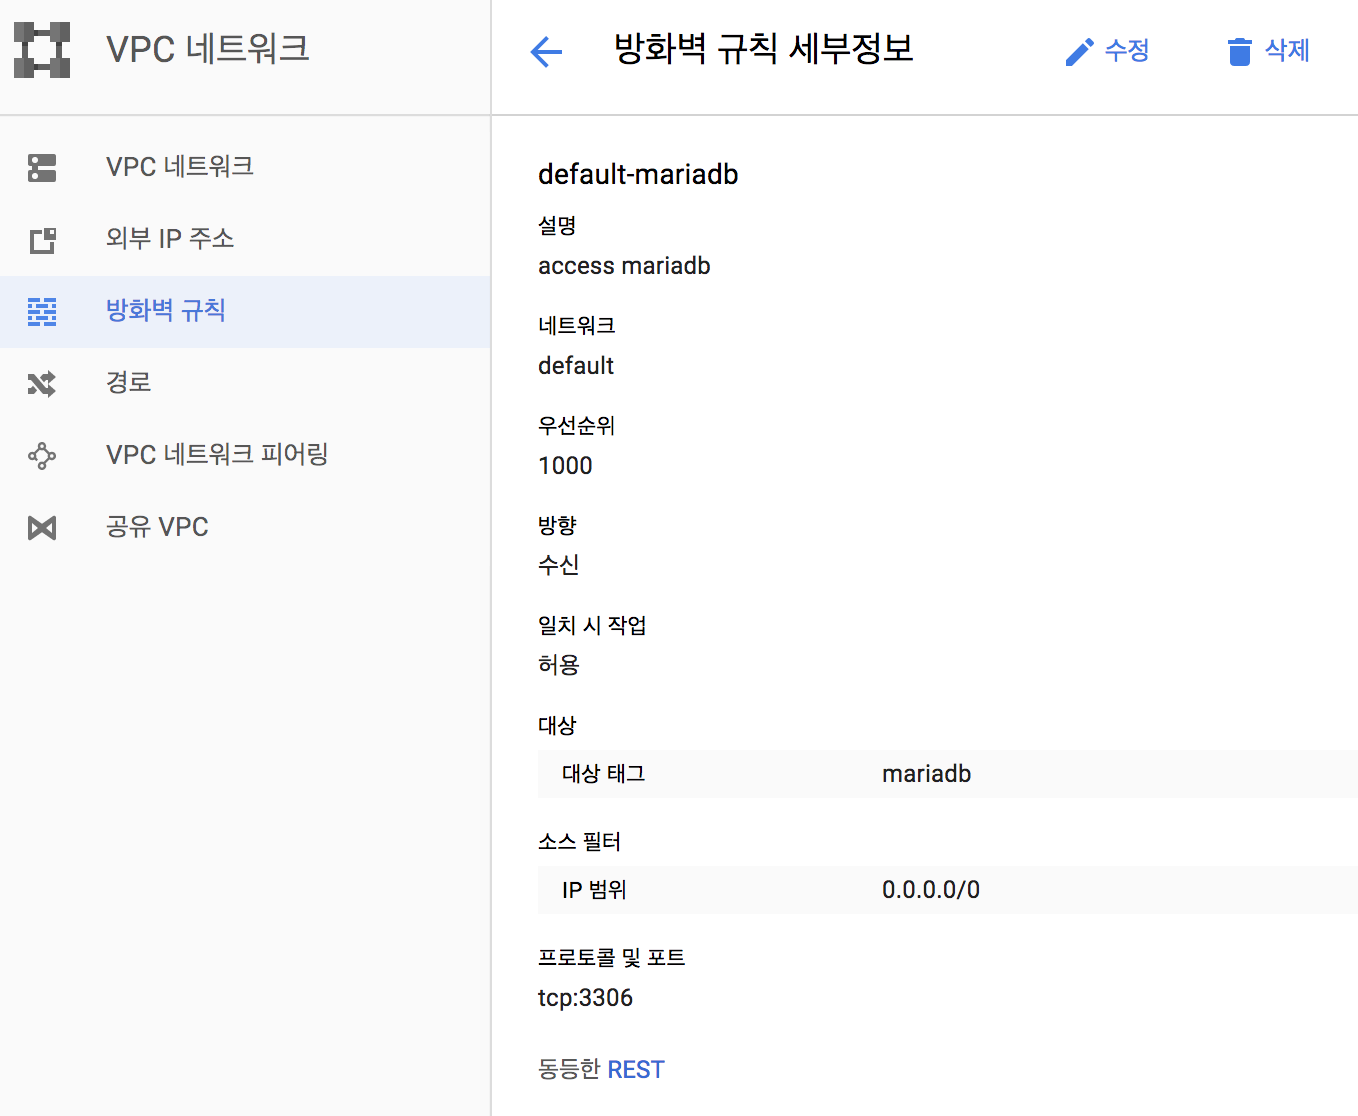
MySQL이나 MariaDB의 경우 서버에 접속할때 기본적으로 tcp 3306 포트를 사용한다. 그래서 외부에서 서버에 접속하기 위해서는 방화벽을 개방해야한다.
구글 클라우드 플랫폼 같은 경우는 VLC 네트워크 에서 방화벽 설정을 관리한다. 이곳에서 해당 포트를 추가하고 기존에 생성한 Compute instance에 해당 정책을 추가해 주면된다.
2) 원격 클라이언트 접속을위한 MariaDB 구성
GRANT ALL PRIVILEGES ON *.* TO 'root'@'192.168.100.%' IDENTIFIED BY 'my-new-password' WITH GRANT OPTION;
위 명령어를 통해 원격에서 접속할 계정 및 IP를 설정할 수 있다.
만약 우리 집 IP를 추가하고 싶다면 'root'@'우리집IP와 같이 IP 부분을 수정해 주면된다. 아래는 mysql 클라이언트를 통해 서버에 접속해서 원격 접속할 계정과 IP를 추가하는 과정이다.
$ mysql -u root -p
Enter password:
Welcome to the MariaDB monitor.  Commands end with ; or \g.
Your MariaDB connection id is 10
Server version: 5.5.56-MariaDB MariaDB Server

Copyright (c) 2000, 2017, Oracle, MariaDB Corporation Ab and others.

Type 'help;' or '\h' for help. Type '\c' to clear the current input statement.

MariaDB [(none)]> GRANT ALL PRIVILEGES ON *.* TO 'root'@'192.168.100.%' IDENTIFIED BY 'my-new-password' WITH GRANT OPTION;
Query OK, 0 rows affected (0.01 sec)

MariaDB [(none)]> SELECT User, Host FROM mysql.user WHERE Host <> 'localhost';
+------+---------------+
| User | Host          |
+------+---------------+
| root | 127.0.0.1     |
| root | 192.168.100.% |
| root | 221.138.65.17 |
| root | ::1           |
| root | cto-engine    |
+------+---------------+
5 rows in set (0.00 sec)
다음으로 /etc/my.cnf에서 bind-address= 0.0.0.0를 추가해준다. 외부로부터 접속을 허용할 IP를 입력해야한다.
sudo vi /etc/my.cnf
[mysqld]
datadir=/var/lib/mysql
socket=/var/lib/mysql/mysql.sock
# Disabling symbolic-links is recommended to prevent assorted security risks
symbolic-links=0
# Settings user and group are ignored when systemd is used.
# If you need to run mysqld under a different user or group,
# customize your systemd unit file for mariadb according to the
# instructions in http://fedoraproject.org/wiki/Systemd
bind-address= 0.0.0.0

[mysqld_safe]
log-error=/var/log/mariadb/mariadb.log
pid-file=/var/run/mariadb/mariadb.pid

#
# include all files from the config directory
#
!includedir /etc/my.cnf.d
이제 설정한 내용을 적용하기 위해 mariadb를 재시작해준다.
sudo systemctl restart mariadb
3) 원격접속 확인하기
Compute Engine 인스턴스가 임시로 받은 공인IP를 입력해준다.
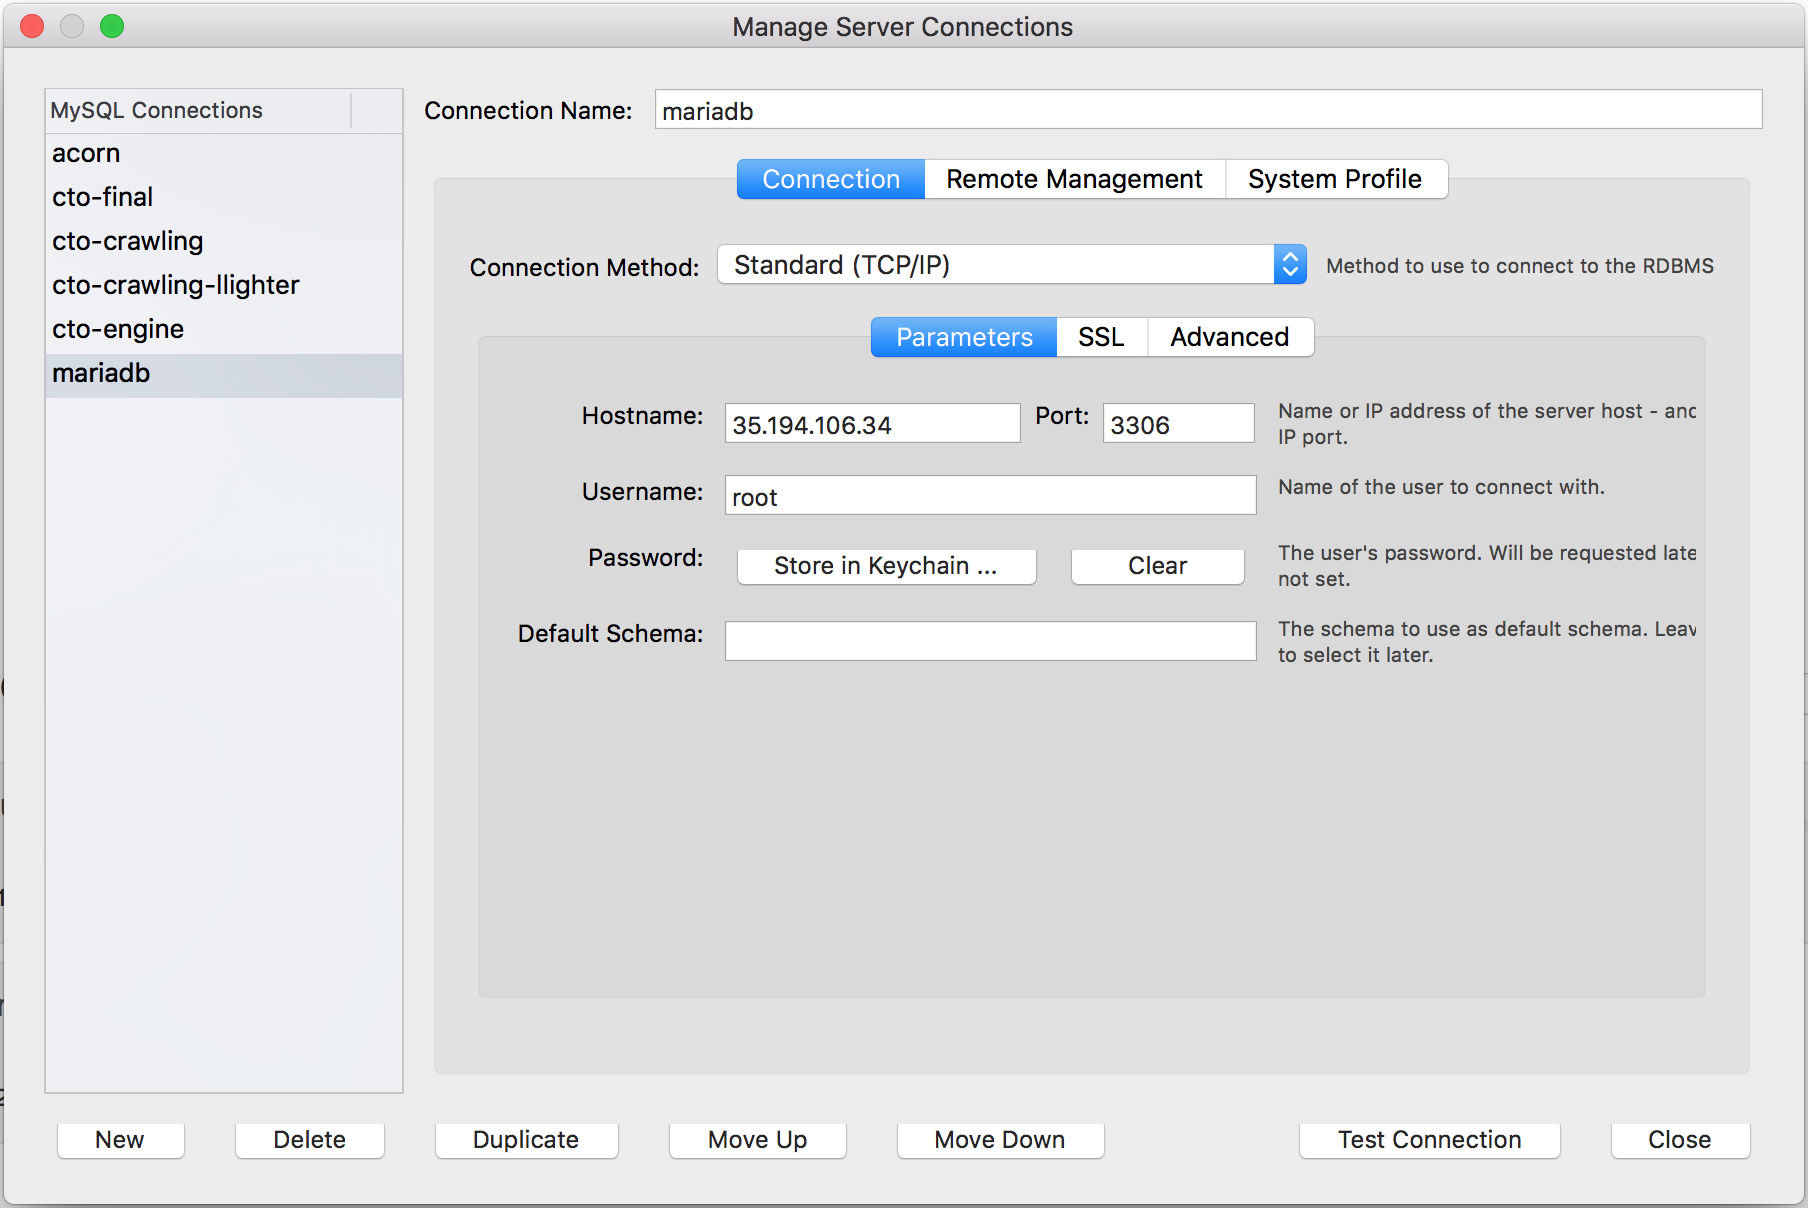
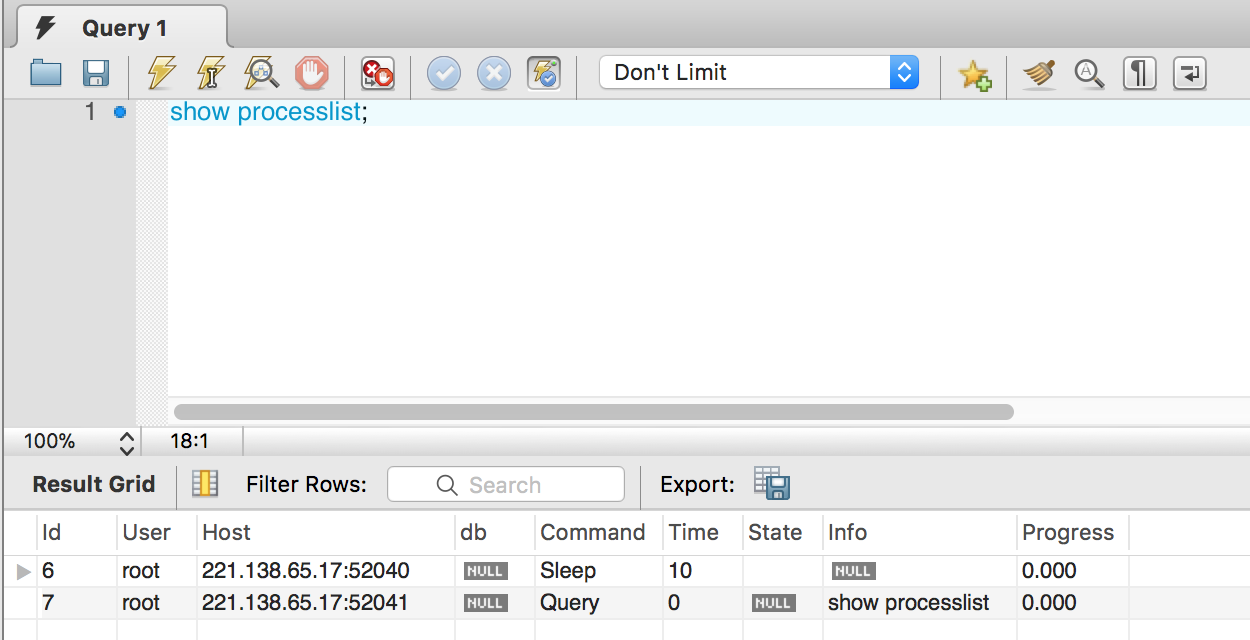
정상적으로 접속이 되고 실행이 되는 것을 확인 할 수 있다.
결론
이번 과정을 통해 클라우드 공간에 가상 컴퓨터를 생성하고 데이터베이스를 설치한다음 로컬에서 원격으로 접속해보았다. 만약 로컬에서 데이터베이스를 설치하기에 부담스럽거나 팀 프로젝트를 진행하면서 일관되게 데이터를 관리하고 싶다면 구글 클라우드 플랫폼을 이용해서 쉽게 데이터베이스를 구성할 수 있다.